Answer these simple questions and we will find you the BEST prices
Which type of solar quotes do you need?

Get Free quotes from insulation specialists near you

Save money by comparing quotes and choosing the most competitive offer

The service is 100% free and with no obligation
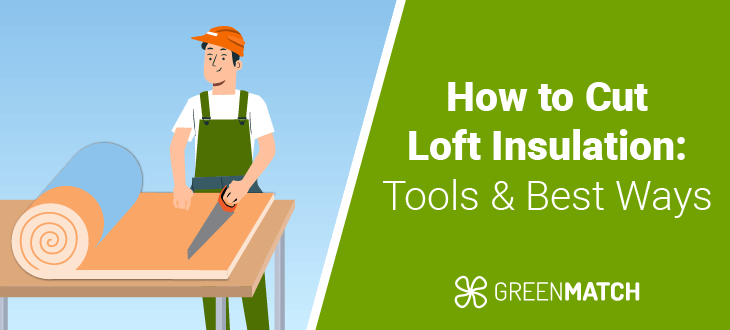
How to Cut Loft Insulation: Tools & Best Ways

- Poorly cut insulation may lead to thermal bridging, which can result in up to 30% heat loss due to insulation gaps.
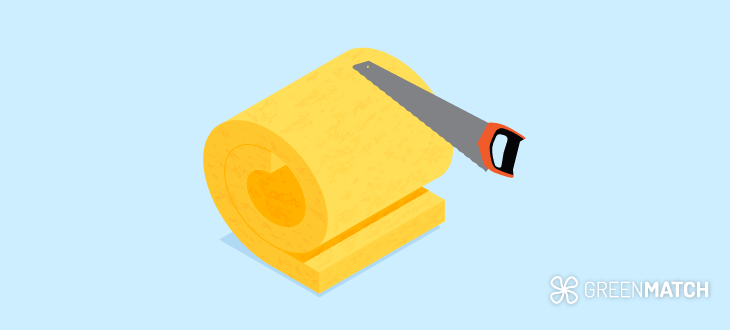
- When cutting loft insulation, use a utility knife or insulation saw, cutting board, measuring tape, marker, straightedge, and protective gear.
- Cutting batts and rolls follow the same process. However, it's important to note that batts come pre-cut, making them much easier to install than long continuous rolls.
- Opting to DIY loft insulation can reduce labour costs, but you will not be eligible to apply for government grants. Loft insulation grants require installers to carry PAS 2030 – 2035 certificates.
Cutting loft insulation is critical in ensuring a successful DIY insulation project. Whether installing insulation for the first time or replacing loft insulation, precise cutting is essential to maximise the effectiveness of your insulation.
While DIY insulation projects can save you money on labour, poorly cut insulation can create gaps that may result in thermal bridging, causing up to 30% heat loss due to insulation gaps. Additionally, inaccurately cut insulation can lead to loft insulation condensation, increasing the risk of mildew and mould growth, compromising the insulation's performance and your home's health.
In this article will guide you on how to cut loft insulation, covering essential tools and techniques. We will explain how to cut popular loft insulation types, including fibreglass batts, mineral wool, and rigid foam boards.
Understanding how to cut loft insulation maximises its thermal performance, reduces waste, and makes the installation process smoother. This guide equips DIY enthusiasts and homeowners with the knowledge to achieve professional insulation results.
Partnering with an insulation specialist is vital for exceptional results and flawlessly cutting loft material. Luckily, GreenMatch can connect you with your area's leading loft insulation specialists. Whether you seek professional insulation or guidance for your DIY project, a loft insulation specialist will be instrumental in creating a maximally thermal-efficient home. Complete our quick 30-second form, and we will promptly supply you with up to four free, no-obligation quotes. Click below to begin.
Tools for cutting insulation
When embarking on a DIY insulation project, having the right tools is essential for learning how to insulate your loft accurately and efficiently.
The right tools ensure clean cuts, maintain insulation integrity, prevent waste, and provide a snug fit. Here are the essential tools you’ll need for cutting various types of insulation:

Utility knife: With its sharp edges and replaceable blade, a utility knife allows for making precise cuts in loft insulation. It is the easiest tool to use. This tool is ideal for cutting soft materials like fibreglass batts.
Insulation saw: This tool is the best way to cut thicker loft insulations, like rigid foam boards or sheeps wool, because it has a serrated edge. The saw's teeth grip the material, allowing for a controlled and precise cut without crushing or damaging the insulation.

Straightedge: A straightedge helps guide your cuts, ensuring they are straight and accurate. Precision is crucial when cutting large insulation pieces to avoid gaps and ensure a tight fit between joists.

Measuring tape: Accurate measurements ensure that your insulation fits correctly. A measuring tape helps accurately mark and cut insulation to the correct size by measuring the space between joists.

Permanent marker: Before cutting, it's essential to mark the insulation with a clear line so that you can follow it with your knife or saw. A marker will help you create straight, visible lines on the insulation to guide your cuts.

Cutting board: A cutting board protects your work area and ensures a stable base for precise cuts. It also helps prevent damage to the insulation material and your tools.

Protective gear: Materials such as fibreglass batts can cause skin irritation and respiratory problems. Always wear goggles, masks, and gloves when handling insulation.
Best way to cut loft insulation
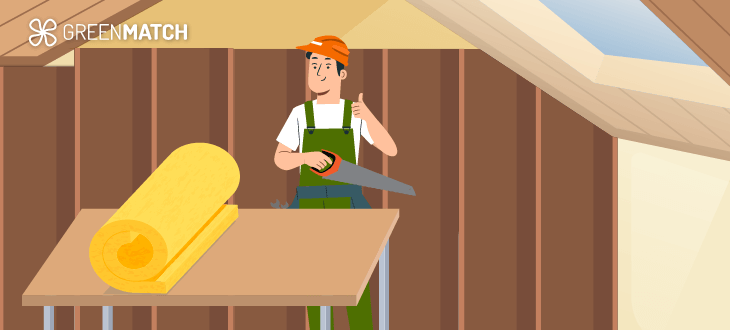
The best way to cut loft insulation depends on the material type and format—rolls, batts, or rigid boards. Each material requires a specific approach for clean, precise cuts that maximize effectiveness and minimize waste.
- Fibreglass batts: When cutting fibreglass loft insulation, use a utility knife for a clean cut. First, measure the space between the joists and mark the insulation accordingly. Then, use a straightedge as a guide and make your cut in a single, smooth motion.
- Mineral wool: For denser and thicker materials such as mineral wool, insulation saw with a serrated edge can provide a more controlled and thorough cut. Measure the space between the joists and mark the insulation using the same technique as a utility knife.
- Rigid foam boards: To cut rigid foam boards, use an insulation saw to avoid crushing the dense material. These boards are ideal for insulating loft rafters. Measure the space between the rafters, mark the board with a straight line, and place it on a stable surface. Use the insulation saw to cut along the marked line, applying steady pressure for a straight cut.
Accurate measurement and precise cutting are crucial for effective loft insulation. Use a straightedge and sharp blades for clean cuts, ensuring the insulation fits snugly between joists. The best cutting method depends on the material used. Still, with the right tools and techniques, you can reduce heat loss and improve energy efficiency in your home.
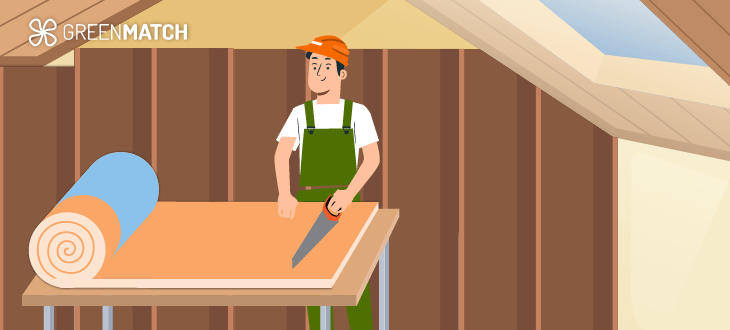
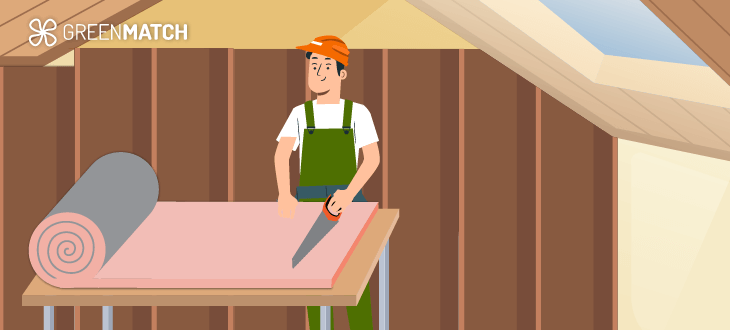
How to cut loft insulation rolls
Knowing how to cut loft insulation rolls properly is crucial for ensuring a snug fit and maximising the thermal efficiency of your insulation project. Whether using fibreglass or mineral wool, the process is straightforward but requires precision for optimal results.
Insulation rolls are large, continuous sheets of material designed for easy handling and installation. They are particularly popular for loft insulation but are also commonly used to insulate large, flat surfaces such as floors, walls, and ceilings. These rolls are typically made from materials like fibreglass, mineral wool, or natural fibres such as sheep's wool, each offering unique benefits in terms of thermal efficiency and ease of use.
To help you achieve a perfect fit, here’s a step-by-step guide on how to cut loft insulation rolls effectively, ensuring that your insulation project is both efficient and successful.
How to cut mineral wool insulation
Mineral wool, also known as rock wool or stone wool, is an insulation material made from natural or recycled materials like basalt rock, slag, or other industrial by-products.
Cutting mineral wool is relatively easy but requires the right tools and technique to achieve clean, precise cuts. The material is denser and more fibrous than other insulation types, such as fibreglass. This means that standard cutting tools might not be as effective. Below are the steps on how to cut loft insulation for mineral wool:
- Gather your tools, including an insulation saw, cutting board, and protective gear. It is important that your insulation saw is sharp as blunted edges can cause damage to the fibres of the mineral wool.
- Place the mineral wool on a cutting board and measure the required length to fit between the joists or rafters of your loft. Use a permanent marker to mark the measurements.
- When cutting the mineral wool, use a straightedge tool to ensure a straight line. It is best to cut the mineral wool crosswise to maintain its structural integrity.
- Leave a 2cm overlap for the seams to ensure a tight fit when cutting the insulation.
- Check the edges of the insulation for cleanliness and straightness. Trim any uneven areas if necessary.
- Carefully fit the insulation pieces between the joists or rafters, ensuring each piece fits snugly without being compressed to maintain effectiveness.
- After installing, check for gaps or spaces where air might escape. Seal these gaps with additional insulation or caulk to maximise thermal efficiency.
By following these steps on how to cut loft insulation, you ensure accurate cuts for a more efficient and effective insulation project.
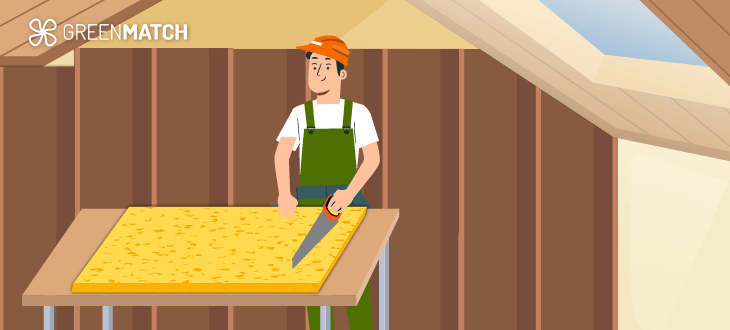
How to cut fibreglass insulation
Fibreglass is a popular choice for home insulation because it is effective, affordable, and easy to install. Made from fine, woven glass strands, it is also lighter and thinner than mineral wool. Wear protective gear when cutting fibreglass rolls for loft insulation to avoid skin irritation and respiratory problems.
- Gather protective gear, measuring tape, a permanent marker, a cutting board, and a utility knife. Fibreglass is best cut using a utility knife with disposable blades to keep it sharp, as it tends to dull knives easily.
- Lay the fibreglass roll flat on your cutting surface. Ensure it's free from twists or folds to make cutting easier and more accurate.
- Using measuring tape, measure the space where the insulation will be installed, whether between joists, studs, or rafters.
- Mark these measurements on the fibreglass. Using a straight edge, draw a clear line across the width of the roll, marking where you will make your cut.
- Place the straightedge on the marked line, hold the fibreglass roll firmly, and cut along the line with a utility knife in one continuous movement at a 45-degree angle.
- After cutting, inspect the edges of the fibreglass to ensure they are clean and straight. Trim any uneven areas with a utility knife for a snug fit during installation.
- Collect any off-cuts or scraps of fibreglass insulation carefully and dispose of them properly to avoid exposure to the fibres.
- Carefully fit the fibreglass pieces into the designated space, ensuring they fit snugly without being compressed to maintain their insulating properties.
- After installing the fibreglass, check for gaps and seal them with insulation or caulk for maximum thermal efficiency.
By following these steps on how to cut loft insulation, you can effectively cut fibreglass rolls to fit perfectly into your insulation spaces.
How to cut loft insulation batts
When understanding how to cut loft insulation, it is important to note some key differences between batts and rolls.The materials are packaged differently, have varying densities, and are intended for different uses. Understanding these differences can help ensure the best results for your insulation project.
Insulation batts are pre-cut sections of insulation in standard sizes designed to fit between joists or studs with minimal modification. They are thicker and more rigid than rolls and easier to handle and manoeuvre during installation. However, you may need to cut them to fit specific spaces, especially around obstacles or non-standard areas.
The method for cutting fibreglass and mineral wool batts is similar to cutting the rolls and requires the same tools. Mineral wool batts require an insulation saw because they are much denser, while fibreglass batts, being thinner, can be cut with a utility knife.
Cutting loft insulation yourself vs professionally
When deciding whether to cut loft insulation yourself or hire a professional, it's essential to weigh the benefits of each approach.
If you choose to cut loft insulation yourself, you can significantly reduce labour costs, which can average around £250 per person per day. Taking on the project yourself not only saves money but also allows you to work at your own pace, providing a sense of accomplishment and flexibility in managing the project on your schedule.
However, knowing how to cut loft insulation correctly is crucial to avoid issues such as gaps, thermal bridging, and condensation. Loft insulation specialists have the expertise to make precise cuts, ensuring a snug fit that maximises thermal efficiency. Additionally, professionals offer warranties, providing peace of mind and protection against potential issues that may arise after installation.
While DIY can save on labour costs, it's important to note that you can only access government grants for loft insulation if the work is performed by PAS 2030 – 2035 certified specialists. Since DIY projects don't qualify for these grants, hiring a professional could save you more money in the long run.
Professional installers ensure a high standard of insulation, keeping your home warm and energy-efficient. At GreenMatch, we can connect you with loft insulation specialists tailored to your budget and needs. Fill out our quick 30-second form for up to four free quotes—no hidden costs, no obligations. Click below to begin.
FAQ
We strive to connect our customers with the right product and supplier. Would you like to be part of GreenMatch?
